
How to Replace a Light Fixture Safely
A ceiling light swap step by step: the three labels to read first, how to test every wire, and the clear signs that mean calling a licensed electrician, with a cheat sheet to save.

Rosa Jimenez
17 de outubro de 2026 · 3 min de leitura
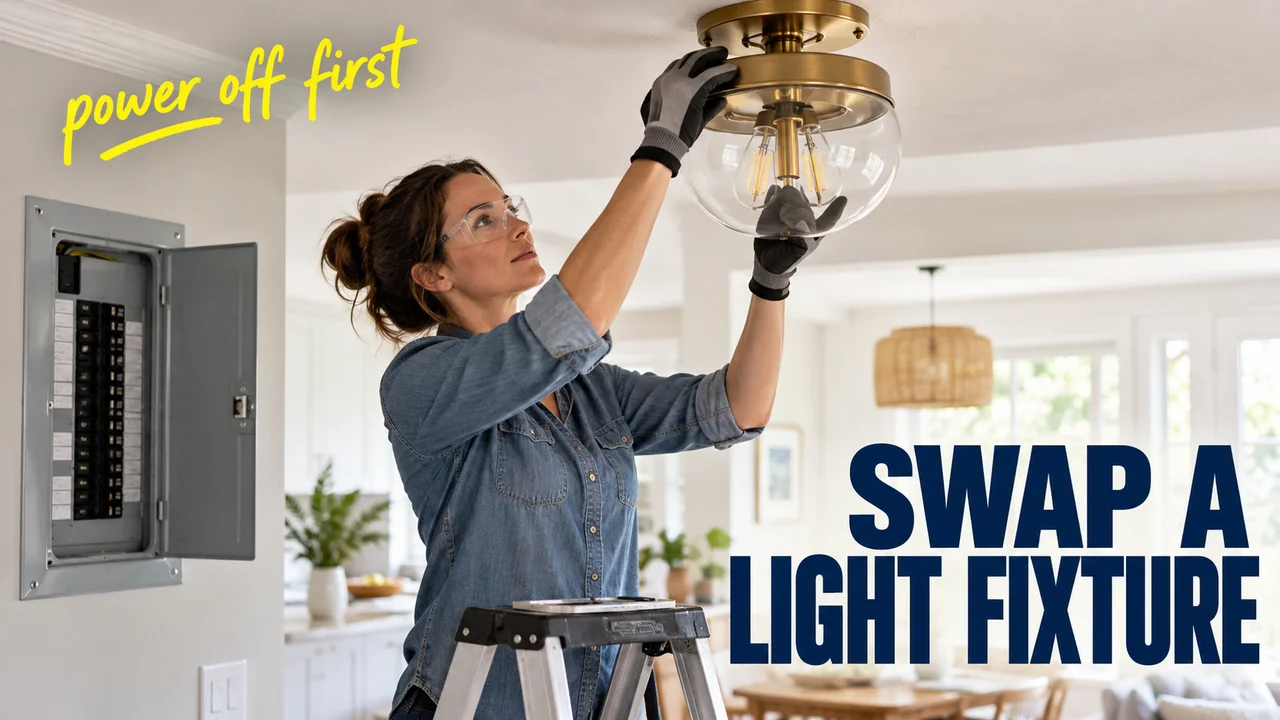
Almost every house has one: a dated ceiling light with a yellowed glass dome, a few dead bugs inside and a canopy that never sits flat. Swapping it is a satisfying small fix, as long as you know the safety checks and when to stop.
Here is the swap step by step, the checks that keep you safe, and the signs that mean calling a licensed electrician.
Before
The hallway light in my 1960s block ranch: a frosted dome the color of weak tea, three dead moths and a canopy hanging a finger's width off the ceiling. Only one of its three thumbscrews still held the glass.
After
Same hallway now: a plain flat fixture, tight to the ceiling, with light that reaches the far end. Nothing rattles when the front door slams.
Rewind: read three labels first
- The new fixture. Many say "Use wire rated for at least 90°C." Homes built before 1985 often have wiring rated only for 60°C.
- The cable jacket. Plastic cable marked "NM-B" is rated for 90°C. Plain "NM" or cloth-covered wire is not.
- The weight. A ceiling box for lights must hold at least 50 lb. Heavier fixtures need separate support or a box marked for that weight. A ceiling fan needs a box listed for fans.
My jacket said plain "NM" and the fixture wanted 90°C, so a licensed electrician ran a short length of new cable to the box.
The swap, step by step
- Breaker off. The wall switch alone doesn't make the wires safe.
- Test every wire. Some boxes hold wires from more than one circuit, so check all of them with a non-contact voltage tester first.
- Photo, then disconnect. Snap the connections, support the old fixture, untwist.
- Fit the bracket. The one in the box doesn't always match the ceiling box, so hold it up first. (Mine didn't. Second hardware store trip.)
- Connect like to like. Bare or green ground to the green screw, white to white, black or red to black. Cap each with a wire connector and tug gently.
- Tuck, close, test. Fold wires in, fit the canopy, use bulbs within the wattage rating, breaker on.
Hidden tips
- Test the tester. Touch it to a working outlet before and after checking the box. A dead battery reads exactly like a dead wire.
- A third hand from a coat hanger. Bend a wire hanger into a hook and hang the new fixture from the box while you connect it.
Stop and call a licensed electrician if
- The jacket says "AL" or "Aluminum." It's likeliest in homes built or expanded from 1965 to 1973, and the CPSC says not to repair it yourself.
- The fixture wants 90°C wire and your cable isn't NM-B.
- A wire reads live with the breaker off.
- The box is loose or missing, or insulation is cracked or scorched.
- The job means working inside the breaker panel.
The honest bill: one afternoon, one electrician visit, one bad word.
Save this: fixture swap cheat sheet
| Check | Do this |
|---|---|
| Fixture label | 90°C wire needed? |
| Cable jacket | NM-B is 90°C, plain NM is not |
| Weight | Over 50 lb needs extra support |
| Power | Breaker off, not just the switch |
| Tester | Working outlet, box, outlet again |
| Wires | Ground, white to white, black to black |
| Bulbs | Within the fixture's wattage rating |
| Stop | "AL" jacket, live wire, damaged box |
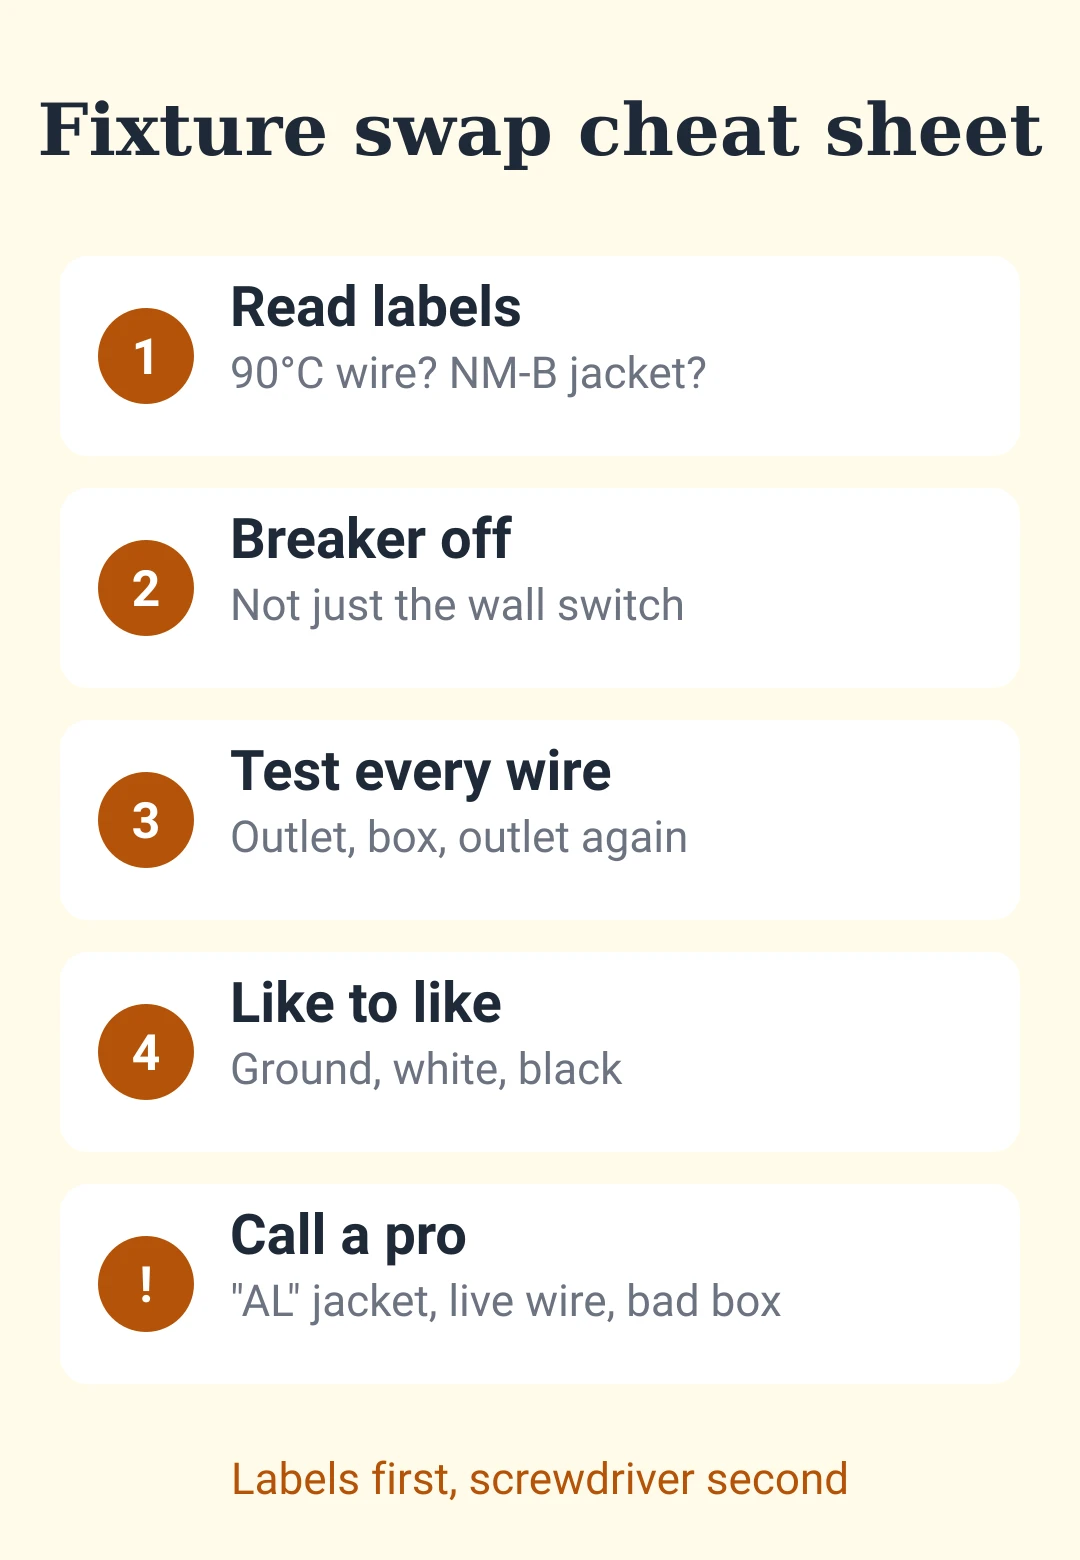
If your hallway looks like my before, don't start with the screwdriver. Start with the labels.











para deixar um comentário.
Carregando…