
How to Fix a Wobbly Wooden Chair
Noah Fischer · 42 vues · il y a 4 mois · Article
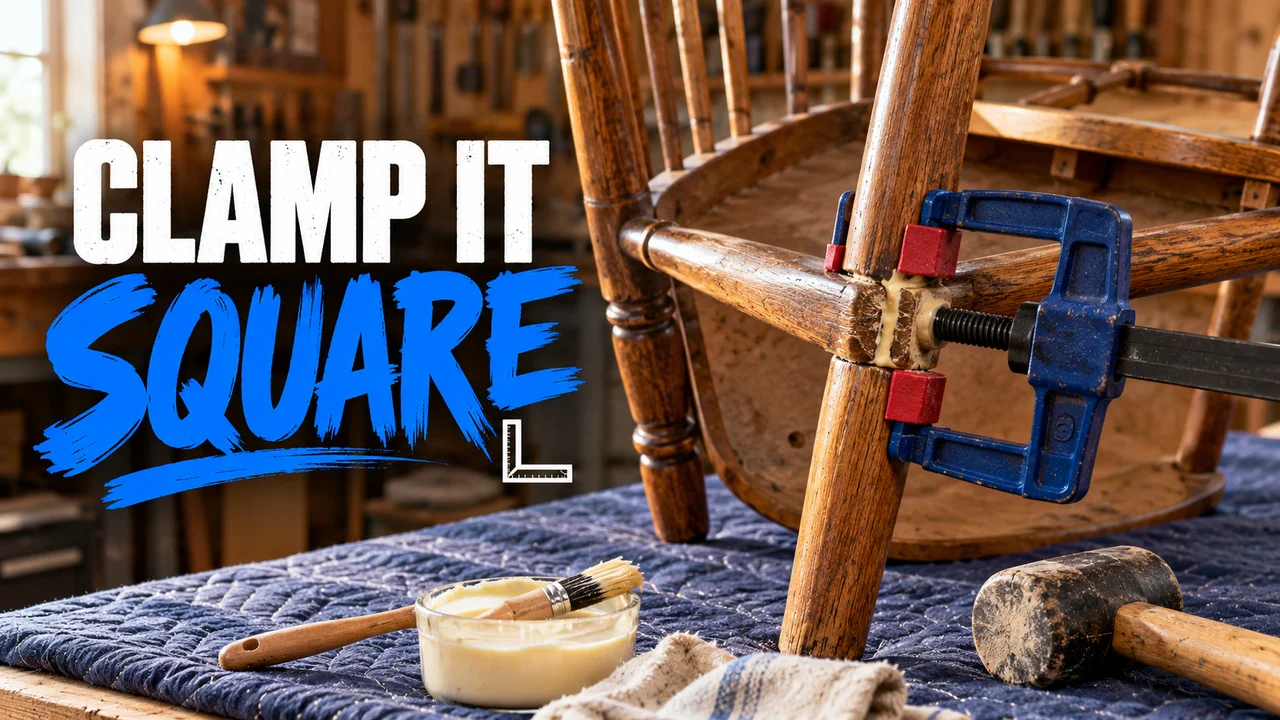
A five-step glue and clamp repair for loose wooden chair joints, with a check-in after each step and a cheat sheet to save.
Observe the wooden chair in its natural habitat. You sit, it shifts, and one leg answers with a click.
The challenge: one wobbly chair, five steps, until it sits dead still on a flat floor. You get a glue and clamp repair with a check-in after each step.
Kit and ground rules
- Kit: a rubber mallet, masking tape, a scraper, rags, hot water, wood glue, clamps or rope.
- Rule one: test first. Flat floor. Press each joint. A gap that opens and closes is your culprit.
- Rule two: skip the glue syringe. Glue squirted into a loose joint sticks to the old failed glue. Not to the wood.
- Rule three: fix only what moves. Miss a step? Go back one.
Step 1: Label, then knock it apart
Tape every part. A1 on the rung. A1 by its hole. Corner blocks? Remove their screws first. Hold the chair just above a soft surface. Tap near each joint with the mallet. Short taps.
Check-in: did a joint refuse? Hidden tip: wick denatured alcohol into it with a syringe. It turns old hide glue brittle so the joint lets go. On white or yellow glue, try white vinegar. If alcohol clouds the finish, very fine steel wool rubs it out.
Step 2: Clean to bare wood
New wood glue needs wood. It grips old dried glue badly. Hot water washes hide glue off. Hot water and a scrub soften white and yellow glue. Scrape what stays. Take off glue. Keep the wood. One exception. Hot hide glue can go over old hide glue.
This is the step people skip. Don't.
Check-in: dry fit. Push the rung in by hand. Snug? Go on. Rattles? Read the next tip.
Hidden tip: the shaving wrap
Yellow glue fills only tiny gaps. A few thousandths of an inch. More glue won't save a sloppy joint. Plane a thin shaving from maple, poplar or cherry. Glue it around the round tenon. Tape it. Let it dry. Trim and sand until it slides in by hand and holds.
Step 3: Glue and assemble
Lay the parts out in order. Brush glue on the tenon and inside the hole. Titebond Original lists 10 to 15 minutes of total assembly time. Back first. Then front legs and rail. Then side rails and stretchers.
Check-in: does every joint close fully? A gap usually means old glue left behind. Pull it. Clean. Refit.
Step 4: Clamp and square
Bar clamps work. No clamps? Wrap rope twice around the legs and tie it. Slide a stick between the two rounds. Twist. Brace the stick against a rung. Pad corners with a rag. A ratchet strap works too.
Check-in: measure the diagonals. Top of one leg to the bottom of the opposite leg. Both sides should match. Then set it on a flat floor. Rocks? Adjust the clamps until it stops. Wipe off squeeze-out with a damp rag.
Step 5: Wait
Clamps stay on overnight. Titebond says not to stress a new joint for at least 24 hours. Sitting is stress.
Then sit. Lean back. No click. No rock.
I once took an oak chair off a curb. Loose rungs, old hide glue. Same five steps. Solid ever since.
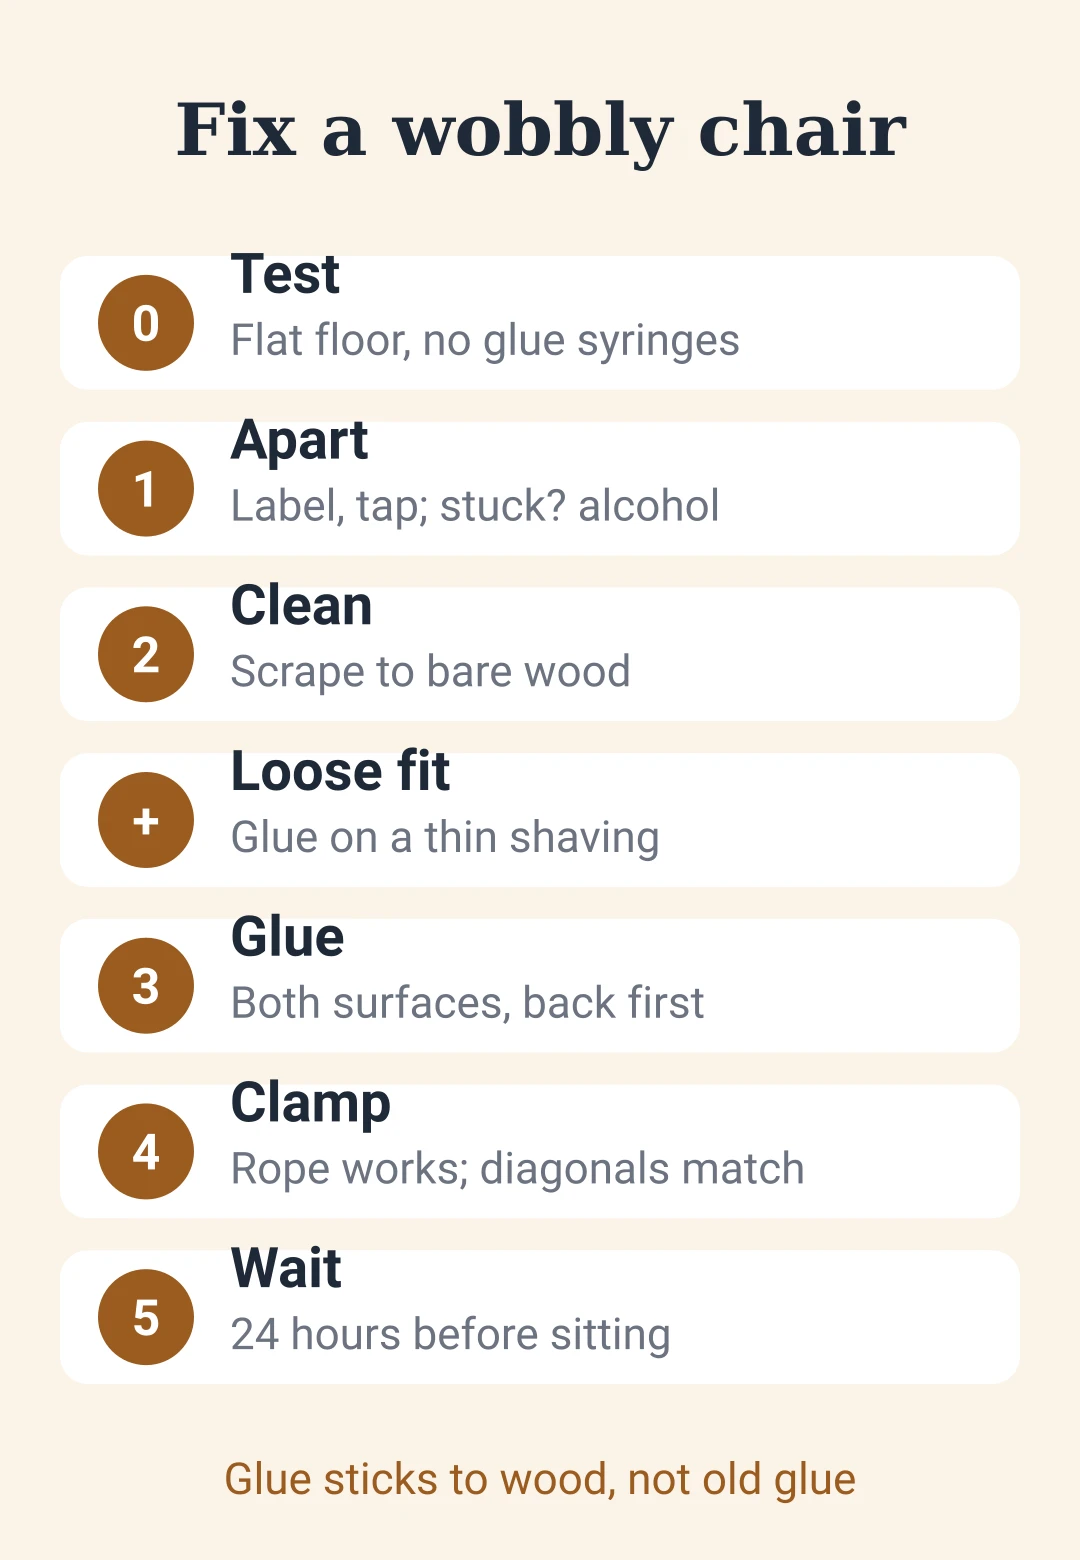
Save this: the wobbly chair cheat sheet
| Step | Your move |
|---|---|
| Test | Flat floor, press each joint |
| Skip | Glue syringes |
| 1. Apart | Tape labels, short mallet taps |
| Stuck joint | Alcohol for hide glue, vinegar for yellow |
| 2. Clean | Hot water, scrape to bare wood |
| Loose fit | Glue on a thin shaving |
| 3. Glue | Both surfaces, back first |
| 4. Clamp | Clamps, or rope and a stick |
| Square | Diagonals match, no rock |
| 5. Wait | 24 hours before sitting |
Post your chair in the comments with how many joints you reglued. Level two: a chair with a cracked leg.
Five steps. Wobble to solid. Most of it is waiting.
- chair repair
- wobbly chair
- wood glue
- furniture repair
- loose joints
- clamping
- woodworking basics
- home repair
Vous avez aimé cette publication ?
pour laisser un commentaire.
Chargement…