
Paint a Room Like a Pro: Step-by-Step Guide
Rosa Jimenez · 조회수 41회 · 3개월 전 · 아티클
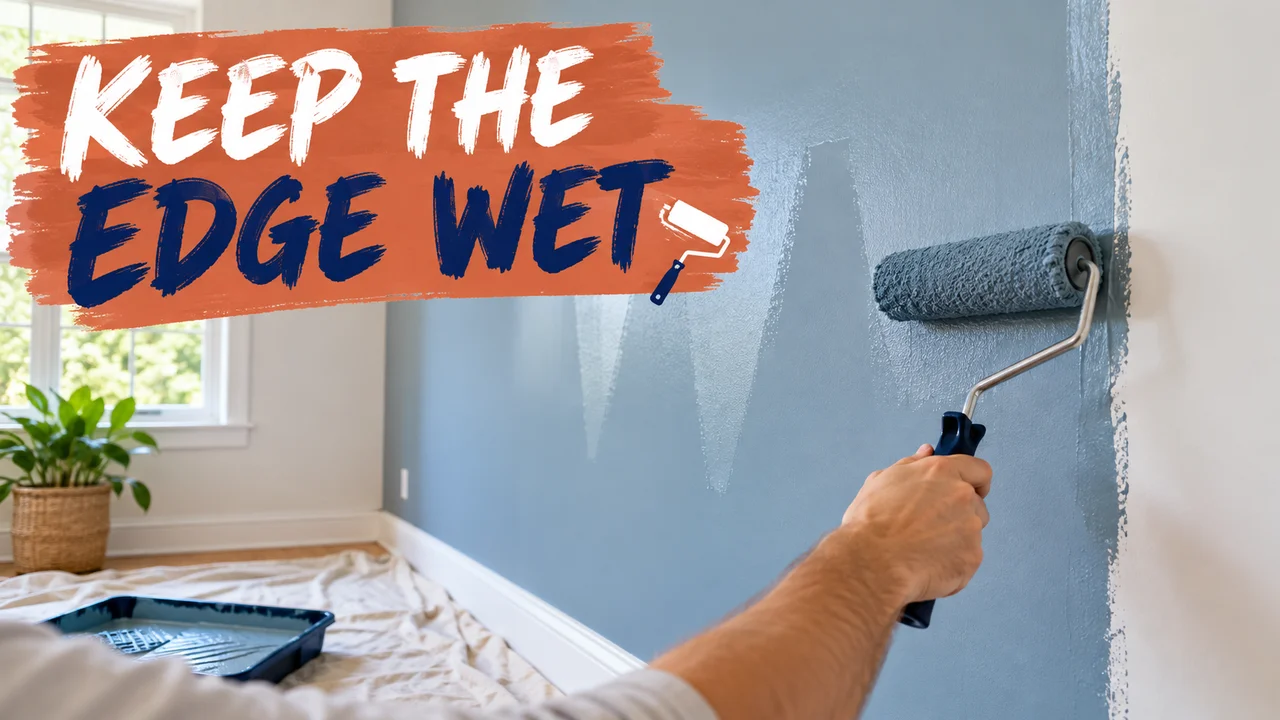
The full room painting process from prep to second coat, why walls end up striped and tape pulls paint, and a tool checklist and cheat sheet to save.
Most of us have painted a wall and found stripes that only show when sunlight hits it. Dana, a first-time homeowner, wrote in about exactly that.
Below: the full process from prep to second coat, the order that prevents streaks, and a tool checklist.
Dana's letter
"My son's bedroom is next. The last wall I painted came out streaky, with stripes you only see when the sun comes in. And the tape took little flakes of paint with it. Do I need fancier paint? What order do I do this in? Also, the walls have about four layers of old paint already." — Dana, first-time homeowner, house built in 1974
The clue is in your sign-off
Dana, the detail that matters most is "1974." Homes built before 1978 may have lead paint under the newer layers, and while painting over intact paint is fine, sanding or scraping it is what creates harmful dust.
Short version: the stripes and flakes come from technique, not the paint. Keep a wet edge and score your tape.
The order, step by step
- Prep. Clear the room, lay drop cloths, wash walls with mild detergent, fill holes.
- Prime if needed. New drywall, patches, or dark to light.
- Ceiling first. Roller on an extension pole. Let it dry.
- Cut in. Brush a 2 to 3 inch band along the ceiling, baseboards, trim and corners.
- Roll while that band is wet. Start on the shortest wall. Roll a W or N shape, working from dry wall back into wet paint.
- Second coat. Often 2 to 4 hours later. The can's recoat time wins.
- Trim last.
Why your wall got stripes
Those stripes are lap marks: fresh paint rolled over an edge that had started to dry. In a big room, cut in and roll one wall at a time.
I once brushed a whole living room before touching a roller. Every corner got a darker frame.
Hidden tips
- Score before you peel. Once the paint is dry to the touch, run a utility knife lightly along the tape edge, then pull the tape back over itself at about 45 degrees. No more flakes.
- Box the paint. Using several cans of one color? Pour them into one big bucket and stir, so batch differences can't show.
- Wrap, don't wash. Between coats, wrap the wet roller and brush tightly in plastic wrap.
In your shoes
- Test for lead before any sanding. The EPA suggests a certified inspector. Can't test? Treat it as lead: mist the wall and use wet-dry sandpaper.
- Measure each wall, length times height, minus doors and windows. A gallon usually covers 250 to 400 square feet per coat. Plan two coats.
- Paint a sample patch and check it in daylight and lamplight first.
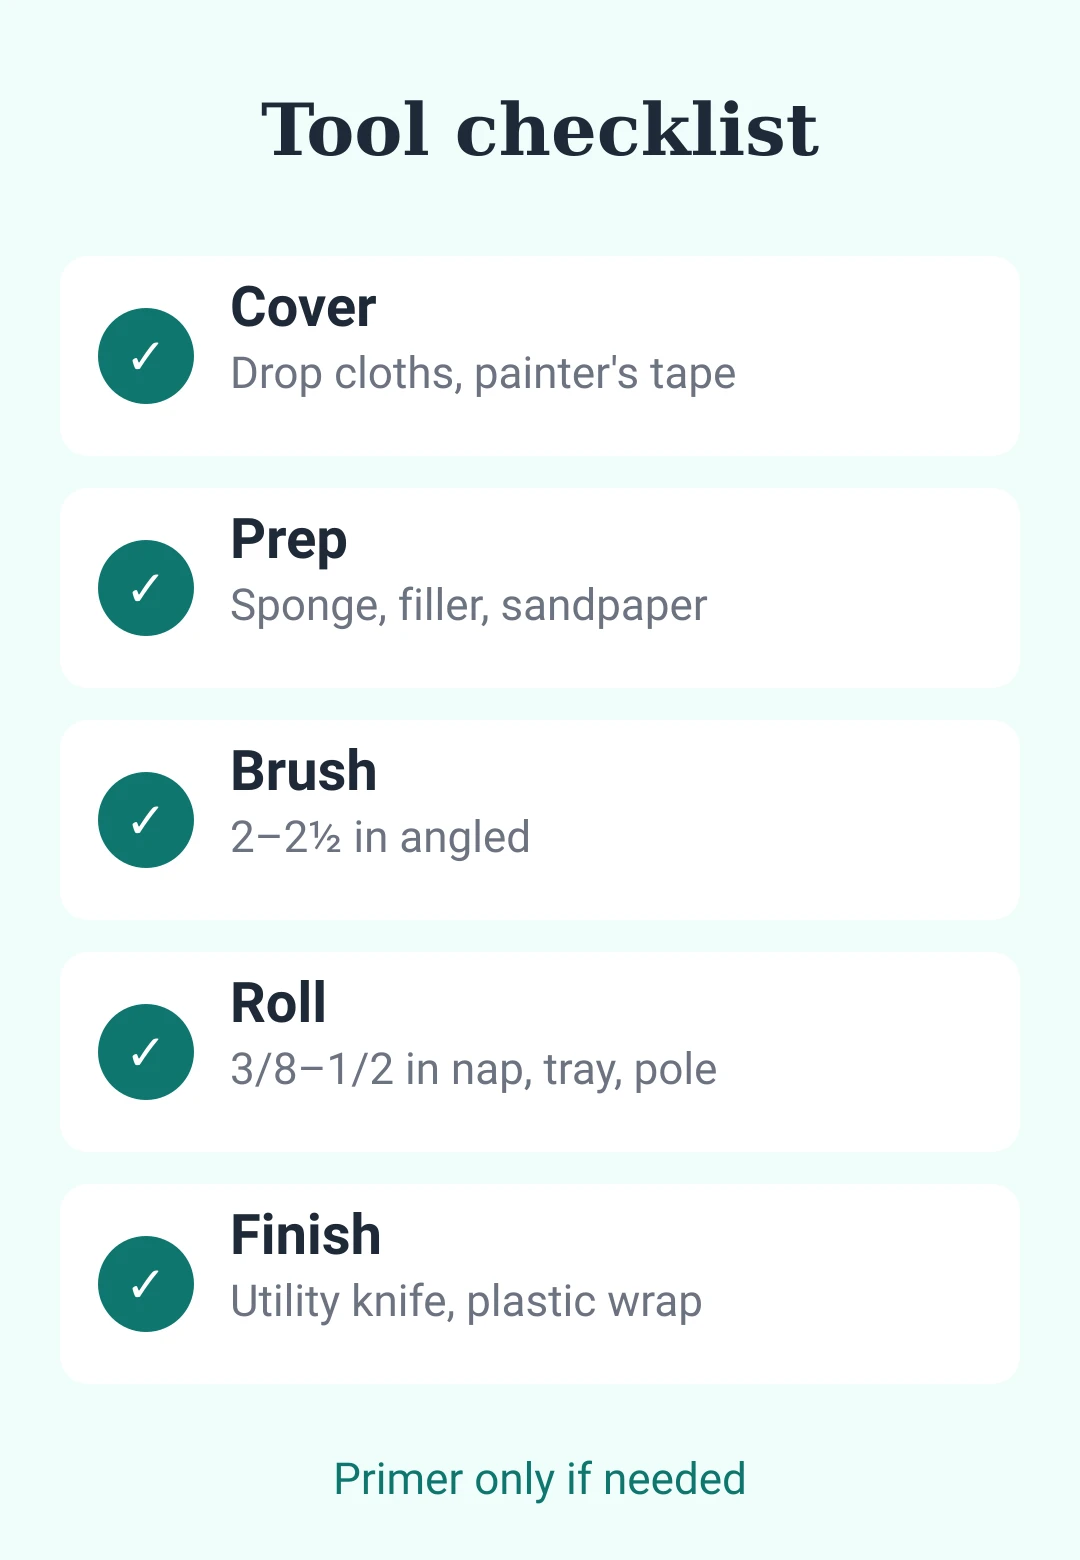
Your tool checklist
- Drop cloths and painter's tape
- Sponge, mild detergent, filler, putty knife, sandpaper
- Primer, only if needed
- 2 to 2½ inch angled brush
- Roller with 3/8 to 1/2 inch nap for smooth walls, tray, pole
- Utility knife and plastic wrap
For everyone else
Striped walls or peeling tape? Keep the edge wet and score before you peel. So, Dana: test first, then roll wet.
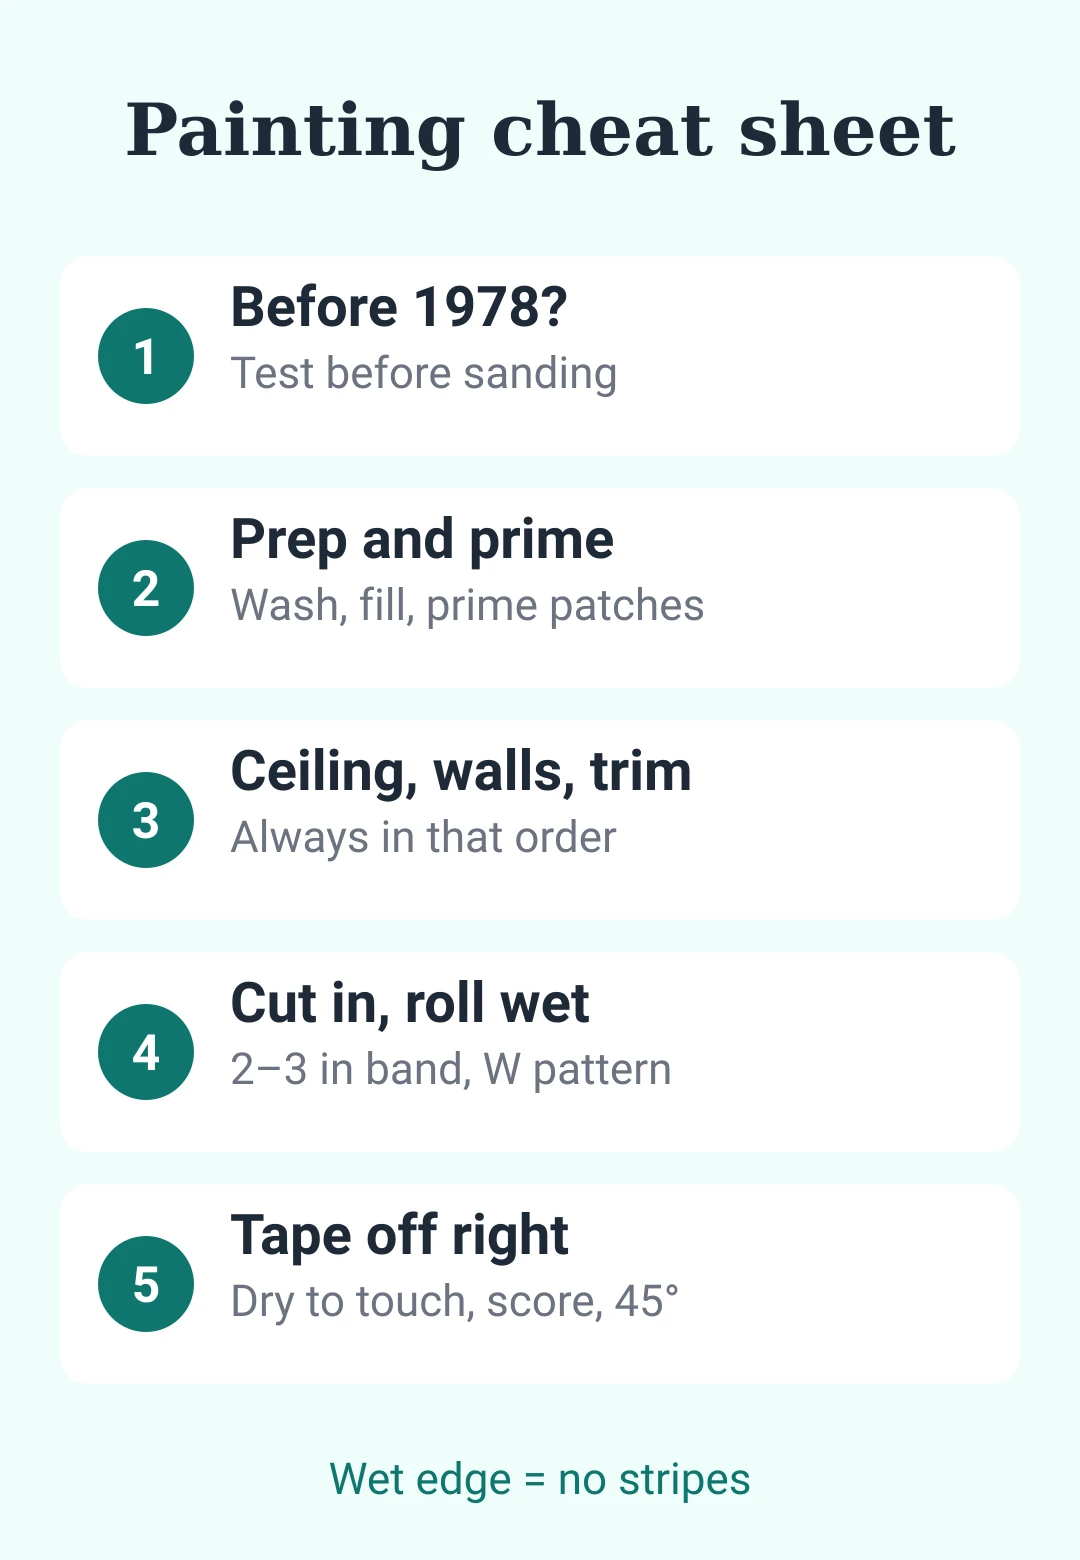
Save this: room painting cheat sheet
| Step | Remember |
|---|---|
| Older home | Before 1978? Test before sanding |
| Prep | Wash, fill, cover floors |
| Prime | New drywall, patches, dark to light |
| Order | Ceiling, walls, trim |
| Cut in | 2–3 inch band, angled brush |
| Roll | Wet edge, W pattern, short wall first |
| Recoat | Follow the can, often 2–4 hours |
| Tape | Dry to touch, score, pull at 45° |
| Amount | 250–400 sq ft per gallon per coat |
- paint a room
- interior painting
- painting tips
- cutting in
- painter's tape
- lead paint
- DIY home
- wall prep
이 게시물, 마음에 드셨나요?
댓글을 남기려면 해 주세요.
불러오는 중…