
How to Sharpen a Knife With a Whetstone: Beginner Guide 🔪
Six simple rules for sharpening on a whetstone: when to hone instead, which grit does what, how to find your angle and feel the burr, with a cheat sheet to save.

Sam Patel
19 juillet 2026 · 2 min de lecture
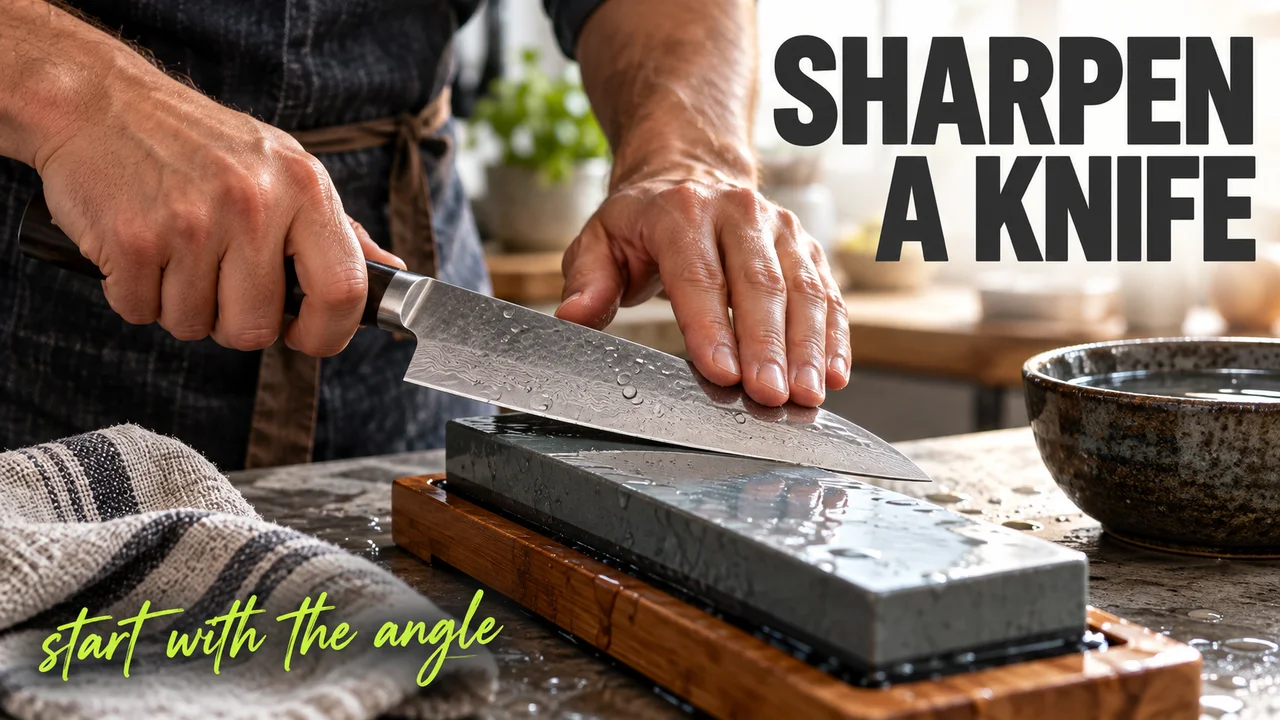
Your knife skates off a tomato and squashes it instead of slicing. Fifteen years with one chef's knife taught me the fix is a stone, a steady angle and six house rules.
Here they are: a step-by-step whetstone routine, the angle to hold, and when to hone instead of sharpen.
Rule 1: Hone often. Sharpen rarely.
Honing pushes a bent edge back into line. Sharpening grinds off metal for a new edge.
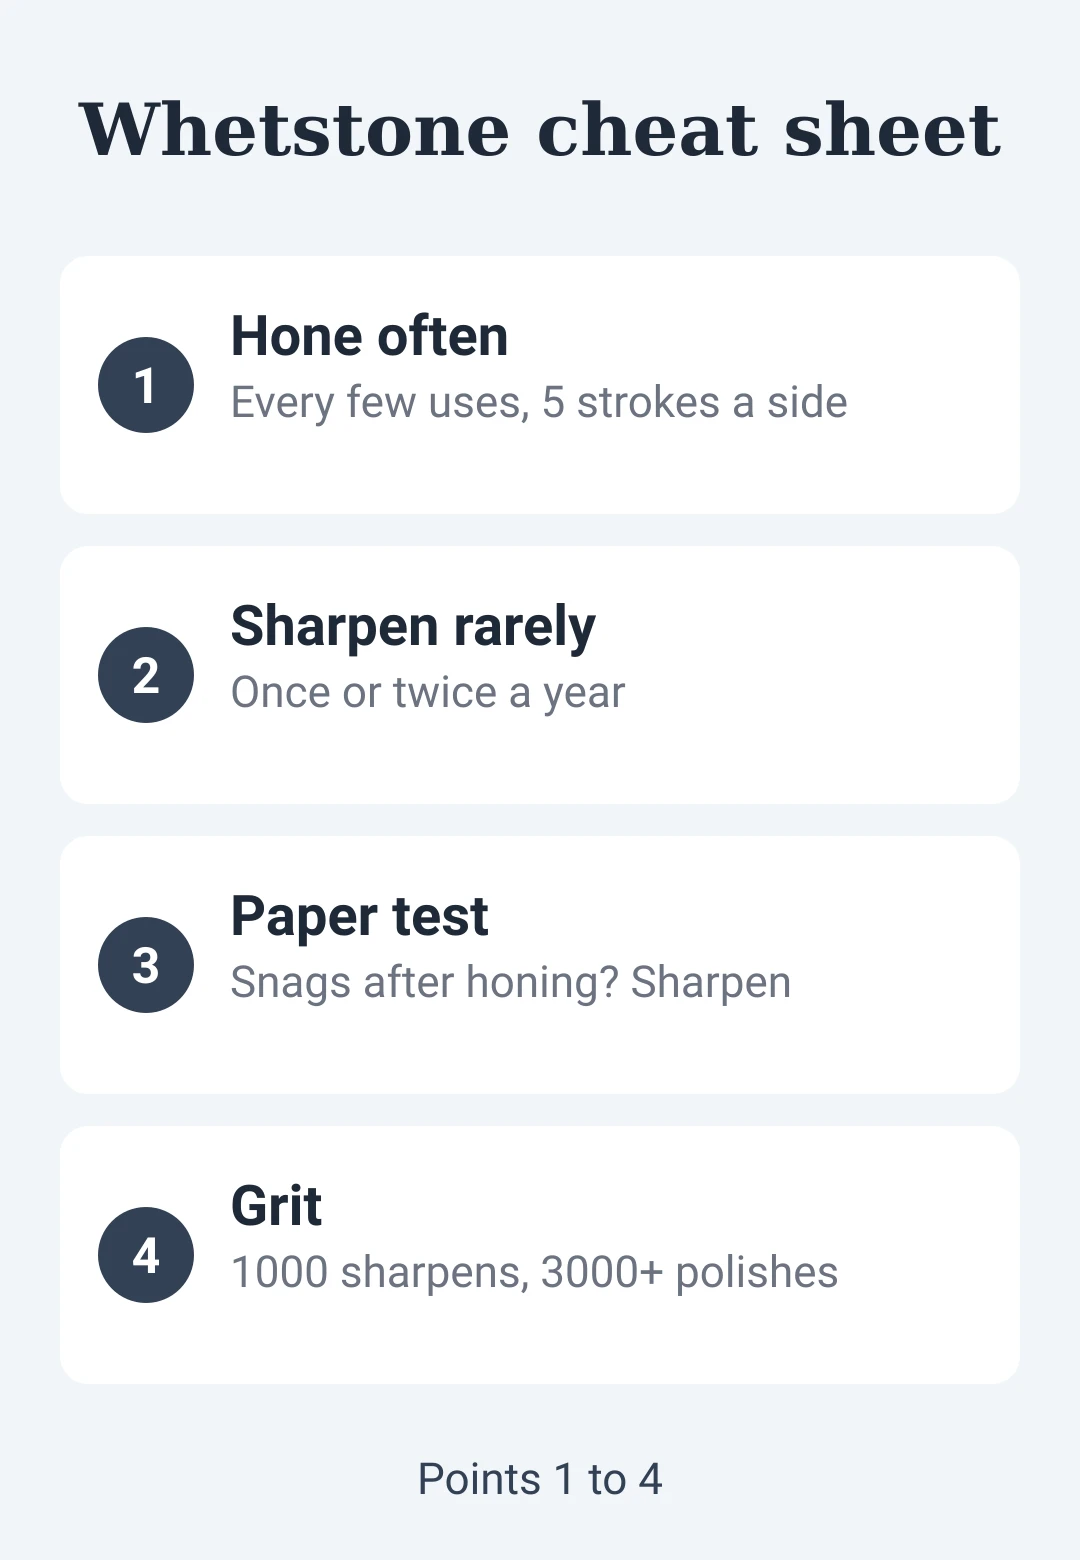
- Hone: every few uses. Five strokes per side.
- Sharpen: once or twice a year, or when honing stops working.
Each sharpening thins the blade. Skip it while the steel still works.
Rule 2: Test before you grind.
Slice a sheet of paper. Tears or snags? Hone and test again. Still snagging? Stone time.
Rule 3: Know your stone.
| Grit | Job |
|---|---|
| 200–400 | Chips, very dull blades |
| 800–1000 | Everyday sharpening |
| 3000–6000 | Polish and refine |
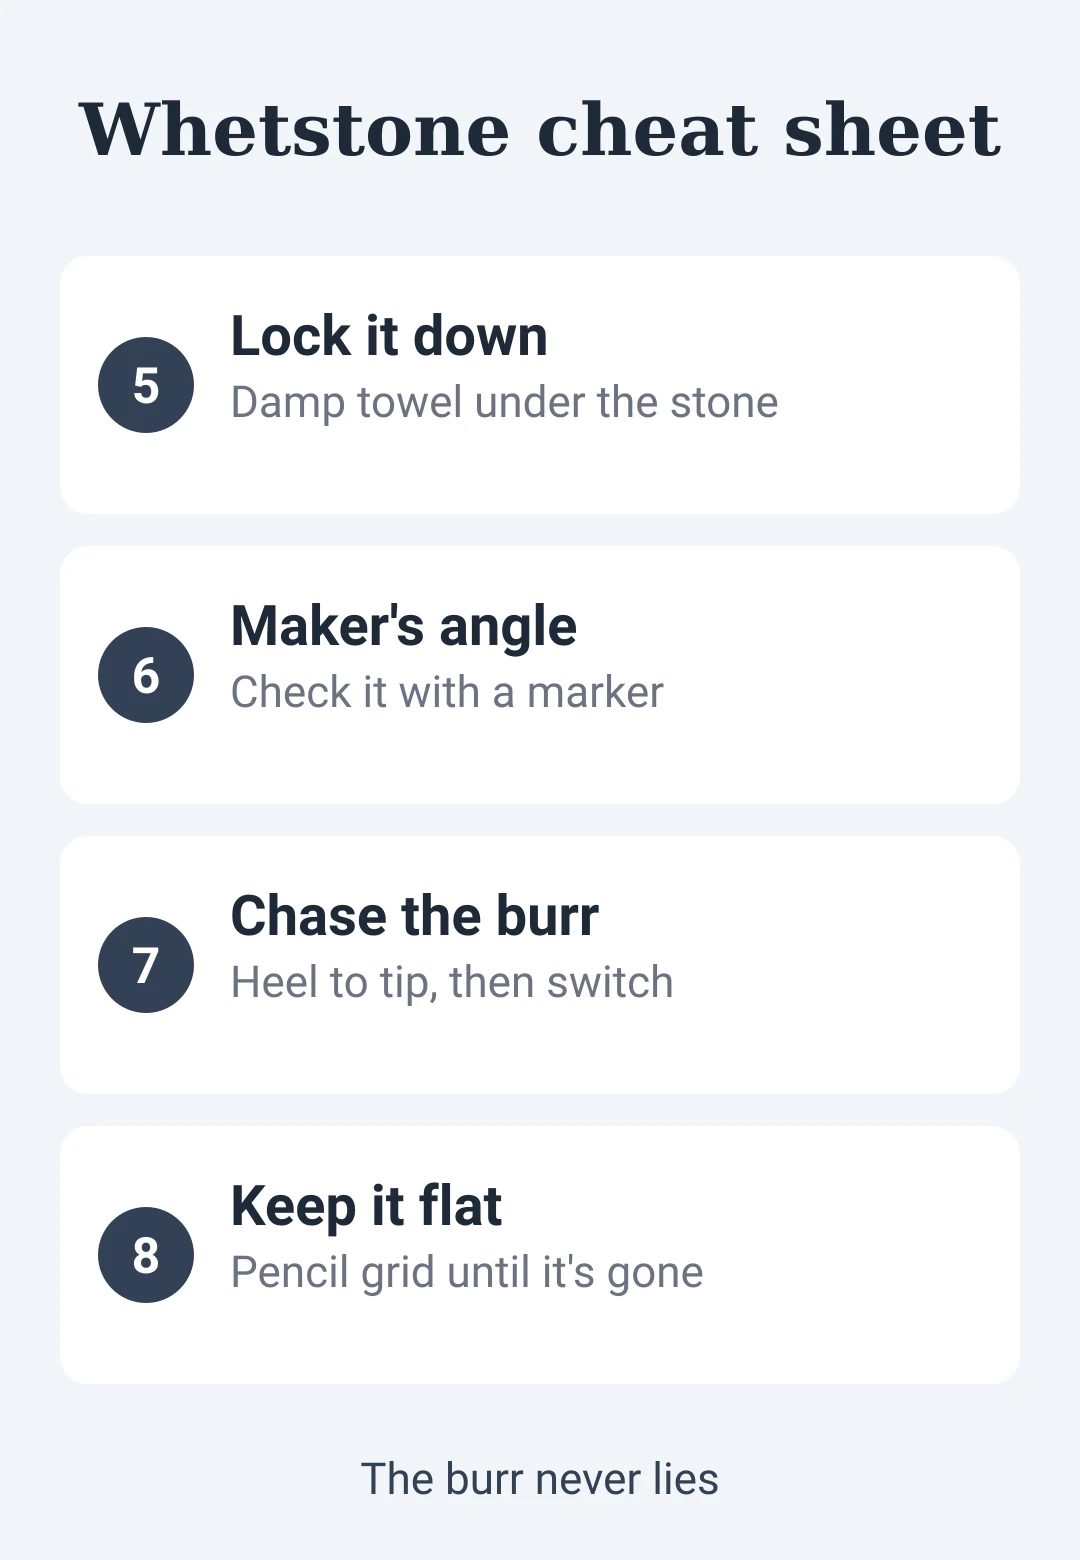
Soaking stones go in water until the bubbles stop, often 5 to 15 minutes. Splash-and-go stones just need wetting, and long soaks can damage some. Then set the stone on a damp towel, because a sliding stone wrecks your angle.
Rule 4: Hold your knife's angle, not mine.
Angles are per side. Wüsthof lists 14 degrees for its standard blades and 10 for santokus. Shun edges are 16. Look up your maker.
Hidden tip: color the bevel with a permanent marker and make one light pass. Ink gone only at the edge? Too high. Gone only up the bevel? Too low. Gone evenly? Locked in.
Rule 5: Chase the burr.
A burr is a tiny lip of metal that curls to the far side once you've ground all the way to the edge.
- Coarse 1000 side. Ten light strokes on one side.
- Drag a fingernail from spine to edge on the other side. Never along the edge. It catches? Burr.
- Keep going until it catches heel to tip. Switch sides. Repeat.
- Fine side. Light alternating strokes to polish and remove the burr.
- Hone a few strokes. Paper test.
Rule 6: Keep the stone flat.
Stones wear a dip in the middle, and a dished stone rocks your angle.
Hidden tip: pencil a grid on the wet stone and rub it on a flattening plate. Stop when every line is gone. Lines left in the middle mean it's still dished.
The rule I break
Rule 1. I hone before every class, needed or not. Old line habit.
Keep just one? Rule 5. The burr never lies.
Cheat sheet: the whetstone rules
| Rule | Do this |
|---|---|
| Hone vs sharpen | Hone every few uses, sharpen yearly or twice |
| Test | Paper snags after honing? Sharpen |
| Grit | 1000 sharpens, 3000–6000 polishes |
| Water | Soak until bubbles stop, or just splash |
| Grip | Damp towel under the stone |
| Angle | Maker's angle per side, marker check |
| Burr | Heel to tip, then switch sides |
| Flat | Pencil grid, rub until lines vanish |











pour laisser un commentaire.
Chargement…