
👕 How to Iron a Shirt in Five Minutes
The order to iron a shirt from collar to body, the heat setting for each fabric, and two lesser-known tips, with a cheat sheet to save.

Daniel Kim
26. Juli 2026 · 3 Min. Lesezeit
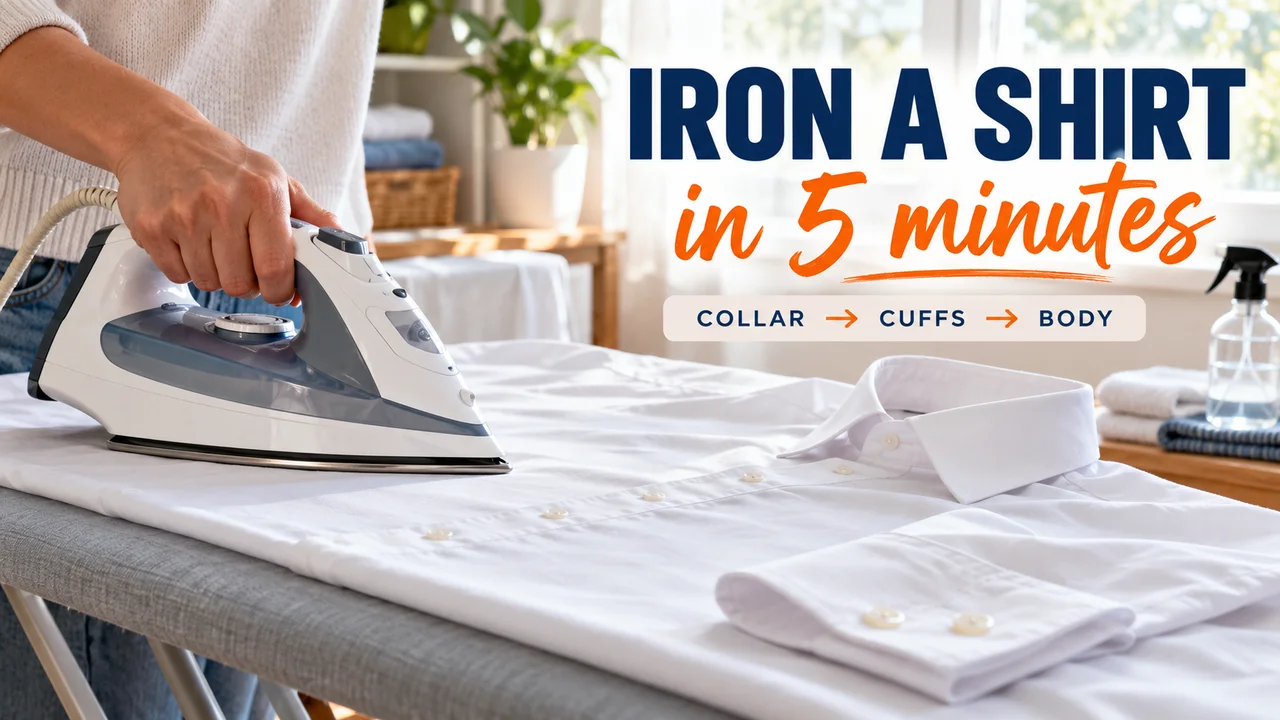
You pull a cotton shirt off the hanger and it looks slept in. Ironing feels like a twenty-minute job, so the sweater goes on over it instead.
Here is the order that gets a shirt done in about five minutes, collar to body, plus the heat setting for each fabric.
The before
My starting point: a white cotton work shirt, left in the dryer overnight. Crushed collar points, sleeves with three competing creases, and a front placket that rippled between every button. The worst part was the back, which had a diagonal fold from hem to shoulder.
The after
Five minutes later: flat collar points, one clean crease per sleeve, a straight placket and a smooth back. The thing people notice first is the collar; the thing I notice is that it took less time than my pour-over. It's not dry-cleaner perfect: one soft wrinkle remains under an arm.
Rewind: the plan
Back to the crumpled shirt. The first decision: small parts first, big panels last, because a finished panel re-wrinkles when you drag it around the board. I ruled out ironing it bone dry, since slightly damp cotton smooths much faster. A spray bottle fixes an over-dried shirt.
- Collar: underside first, point to point, then the outside.
- Cuffs: unbuttoned, inside then outside. Go around the buttons, never over them.
- Sleeves: lay flat along the seam, iron shoulder to cuff, flip, repeat.
- Yoke: the band across the shoulders, over the narrow end of the board.
- Back: yoke down to hem.
- Front: both panels, with the iron's tip working around the buttons.
Rewind: the work
First: collar and cuffs. Double-layered parts need slow passes; push wrinkles toward the edges so they don't get trapped.
Second: the sleeves. Match the old crease and you end up with one line instead of two.
Third: the body. Use long, straight strokes. Which? warns that circles can stretch fabric; use steam rather than pressing harder.
Heat settings by fabric
The dots on the care label's iron symbol are a maximum, not a target. Blends go by the most delicate fiber.
| Label | Max heat | Fabrics |
|---|---|---|
| 1 dot (low) | 110°C / 230°F | Nylon, acrylic, acetate, spandex |
| 2 dots (medium) | 150°C / 300°F | Polyester, rayon, silk, wool |
| 3 dots (high) | 200°C / 390°F | Cotton, linen |
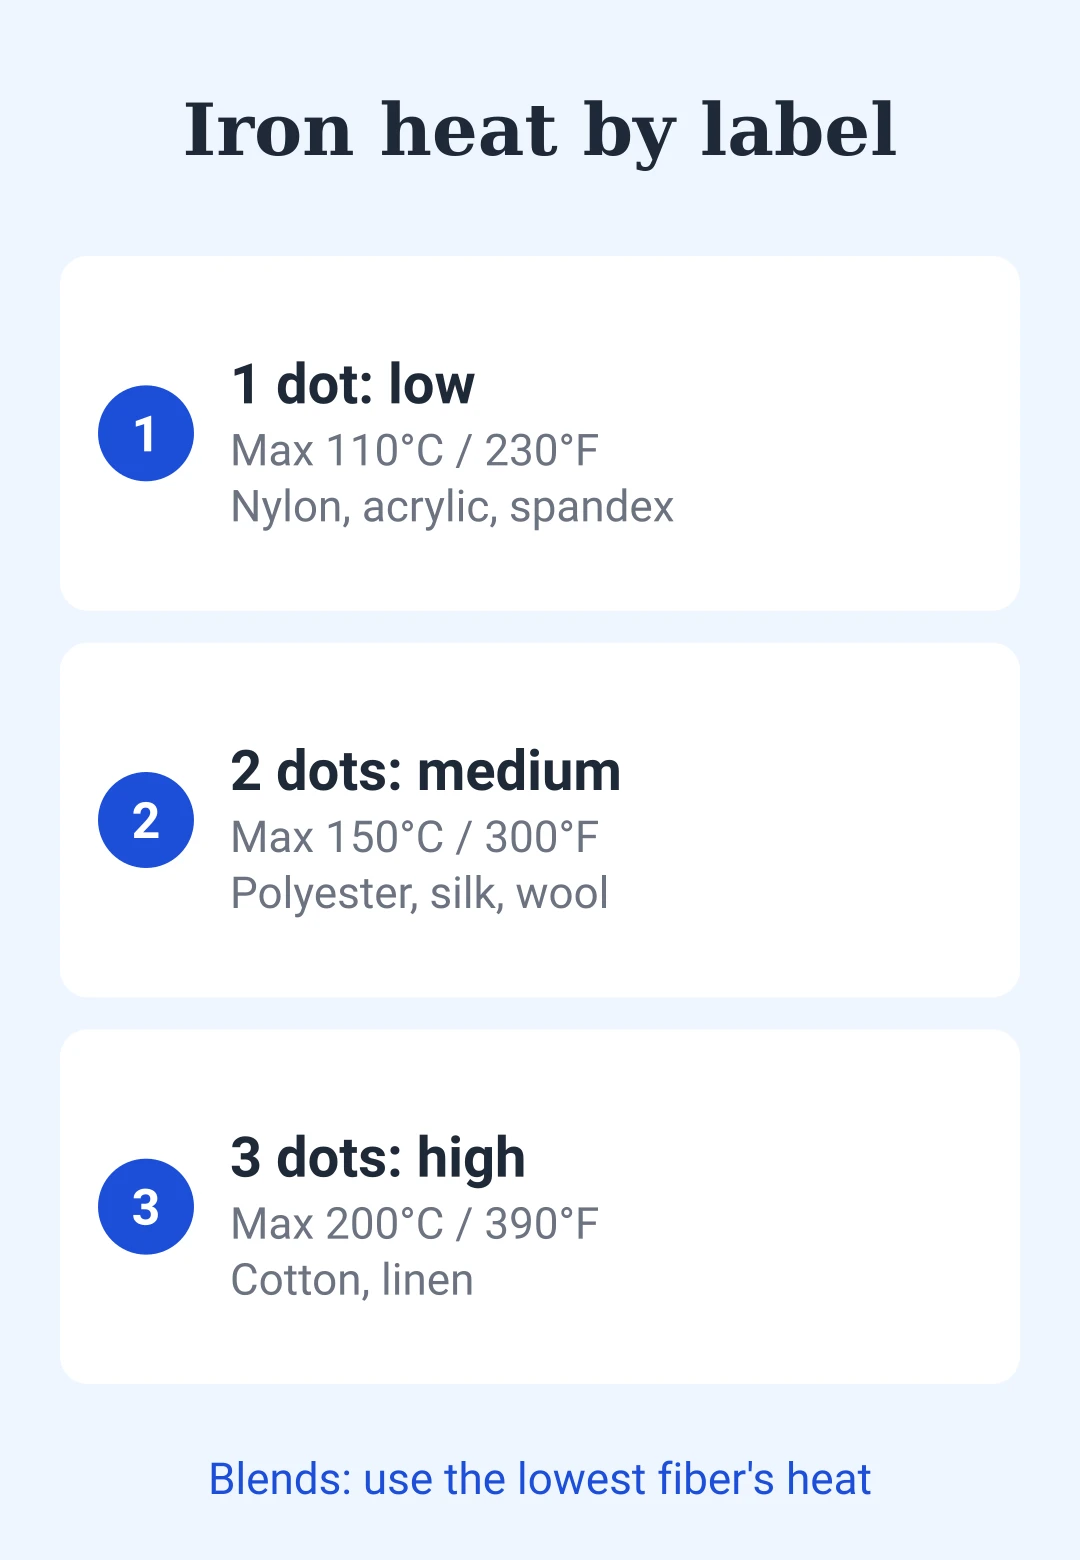
Silk and wool go on the wrong side, or under a cloth. Inside out also helps prevent shine.
Hidden tip 1: iron your coolest fabrics first and work up to cotton. Turning the dial down means waiting for the iron to cool.
Hidden tip 2: don't put the shirt on straight away. Hang it for at least five minutes so the press sets, on a wooden or plastic hanger rather than wire, which can pucker the shoulders.
The bill
- Total effort: about five minutes, timed. Collar and cuffs one, sleeves two, body two.
- What went wrong: I wore it warm, creased the front sitting down, and re-pressed it.
- What you can skip: starch. Steam and a damp shirt do the job.
Side by side
Compared directly, the real difference isn't the collar; it's that the shirt stays smooth longer, because it cooled on a hanger. If your shirt looks like my before, start with a spray of water and the collar. My spreadsheet calls that a press release.
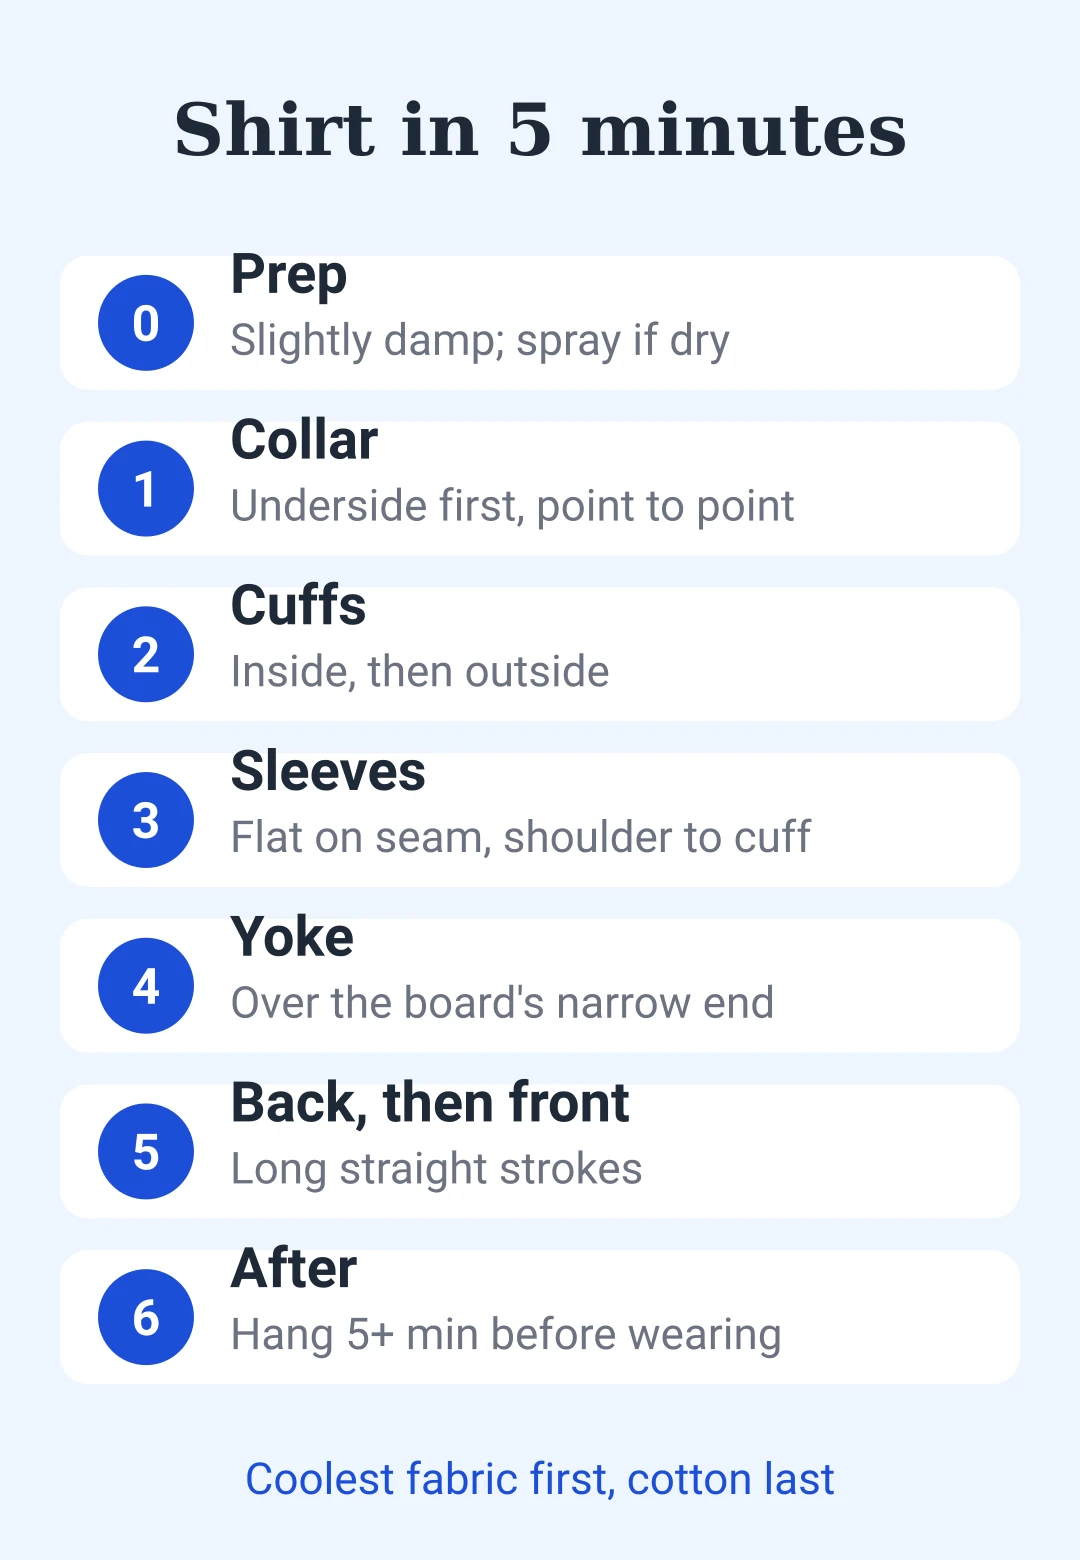
Save this: shirt in five minutes
| Step | Do this |
|---|---|
| Prep | Shirt slightly damp; spray if dry |
| 1. Collar | Underside first, point to point |
| 2. Cuffs | Inside, then outside; around buttons |
| 3. Sleeves | Flat on the seam, shoulder to cuff |
| 4. Yoke | Over the board's narrow end |
| 5. Back, then front | Long straight strokes |
| Heat | 1 dot synthetics, 2 dots poly/silk/wool, 3 dots cotton/linen |
| Order of shirts | Coolest fabric first |
| After | Hang 5+ minutes before wearing |







, um einen Kommentar zu hinterlassen.
Wird geladen…